An impact driver applies repeated rotational blows when fastening resistance rises. It is useful for repetitive screwdriving, but it is not a torque wrench, a masonry hammer drill or an automatic safeguard against damaged screws.
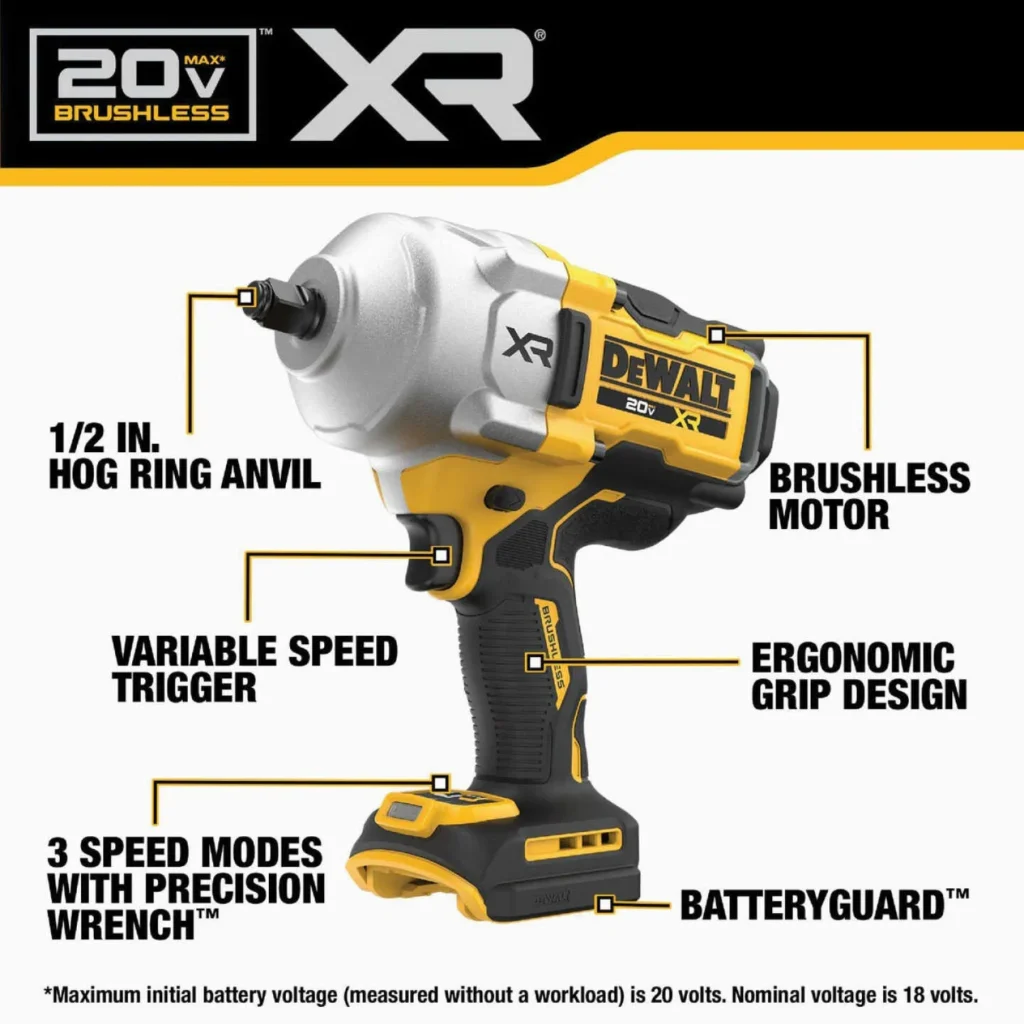
This guide focuses on selecting, setting up and controlling a powered impact driver. For a side-by-side buying decision, see our impact driver versus drill comparison.
How rotational impacts help with fastening
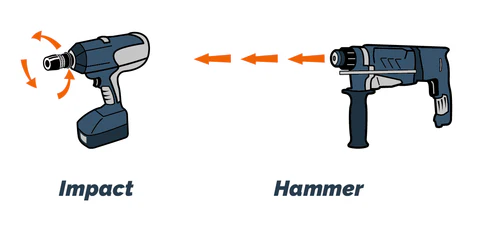
A conventional mechanical impact driver has a motor, transmission, hammer and anvil. Under load, repeated hammer strikes deliver turning impulses through the bit holder. Those rotational impacts differ from a hammer drill’s axial percussion.
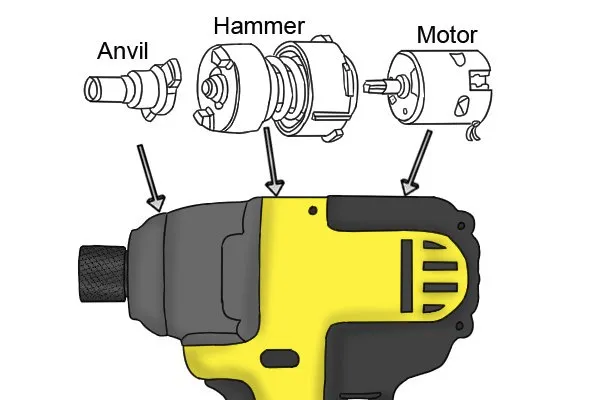
Keep the mechanism distinction clear. Impact action does not eliminate reaction forces or the need for a secure grip. Nor does it guarantee that a bit will stay seated in a worn screw head.
- Rotational impacts assist turning a fastener.
- Axial hammering assists suitable masonry drilling.
- A manual, hammer-struck impact tool is a different tool with its own operating procedure.
For masonry holes, follow a suitable masonry drilling method. Do not choose a powered impact driver merely because its name includes “impact.”
Choose tasks that suit the tool
Typical work includes repeated fastening in timber and other assemblies where the fastener maker permits impact installation. Tool capacity, fastener design and substrate still matter. An impact driver cannot remove every seized bolt or drive every screw without preparation.
Small hardware, soft plastics and delicate furniture fittings may need gentler control. Consider a cordless screwdriver or clutch-equipped drill when their capacities and controls better fit the assembly.
Follow fastener instructions first. Pilot-hole size, edge distance and seating requirements come from the joint and fastener specification, not the driver’s peak torque.
| Task | Decision | Check before work |
|---|---|---|
| Repeated wood screw installation | Potential impact-driver application | Fastener approval, pilot-hole requirement and seating |
| Small decorative hardware | Consider a lower-force tool | Damage risk and control at final seating |
| Precision hole drilling | Usually better suited to a drill | Bit, chuck and required hole tolerance |
| Safety-critical bolted joint | Use the specified installation procedure | Approved tooling and verified final tightening |
Read torque, speed and impact rate correctly
No-load speed describes rotation without a fastening load. Impact rate describes the frequency of impacts under specified conditions. A maximum torque figure describes a test result, not a preset delivered to every screw.
Joint stiffness, fastener condition and impact duration affect tightening. A mode labeled “low” or “self-tapping” changes operation according to that model’s programming; it does not automatically deliver a calibrated torque value.
Do not tighten by sound alone. For joints with a specified tightening requirement, follow the approved procedure and verification method. Bosch’s GDR/GDX operating instructions explain impact-duration effects and torque-wrench verification for those models.
- Compare ratings only with their stated test conditions.
- Check units before comparing torque numbers.
- Keep assist modes separate from calibrated tightening equipment.
Fit the right bit and check retention
Many impact drivers use a 1/4-inch hex holder. Confirm the exact shank and retention requirements in the manual; “hex” alone does not establish that any short bit will lock directly into the holder.
Use impact-rated bits, holders and adapters approved for the intended setup. Every part in an adapter-and-socket chain must be suitable. Adding a socket adapter does not turn a small driver into an impact wrench with a higher approved capacity.
Match the screw recess accurately. A worn or incorrect bit can damage a screw before impact action becomes useful. Isolate power before changing accessories and verify secure retention.
- Check recess type and bit size.
- Inspect for cracks, wear and distortion.
- Use only the accessory combinations permitted by the tool instructions.
For occasional delicate fasteners, our manual versus powered screwdriver guide explains when a simpler tool offers useful control.
Start a fastener and approach seating with control
Secure the work and establish a stable position. Seat the bit before starting, align it with the fastener, and use the model’s appropriate low-speed or starting mode. Maintain alignment as resistance changes.
Reduce driving as the fastener approaches its specified seated position. Stop if the bit slips, the material splits or a fastener behaves unexpectedly. More impact time can worsen a damaged joint.
Practice on a representative joint. A scrap of softwood is not a useful substitute for a trial in the actual material and fastener combination.
- Prepare pilot holes where specified.
- Do not force a cross-threaded fastener.
- Inspect seated joints rather than assuming a stopped tool indicates correct assembly.
Vehicle brakes, steering, suspension and other safety-critical assemblies need their prescribed service procedures. This general guide is not authorization to use an impact driver for final tightening on those joints.
Evaluate batteries and ergonomics together
Compare handling with the battery that will ship in the kit. Pack size changes weight and balance, while available energy and discharge capability affect operation. Voltage alone cannot establish runtime, fastening performance or user class.
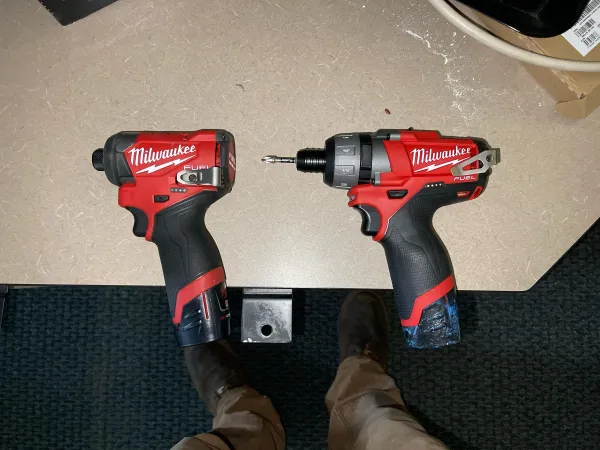
Check trigger control, forward/reverse access, head clearance and visibility with your intended bit. A short body may still be awkward when fitted with a long holder and adapter.
Test the complete kit. Record pack identity, charge state, fastener, substrate and accepted fastening count. Do not advertise a battery cycle life or charging time without model-specific evidence.
- Confirm tool–battery–charger compatibility.
- Evaluate reach with the actual accessory fitted.
- Check charging arrangements against expected work breaks.
Our brushless motor guide covers another selection factor. Motor construction does not guarantee longer life or better results in every model comparison.
Review safety and maintenance before routine use
Follow the tool manual and workplace risk assessment for eye, hearing and other protection. Impact noise should not be treated as harmless because a fastening cycle is short. Keep clothing, hair and hands clear of moving accessories.
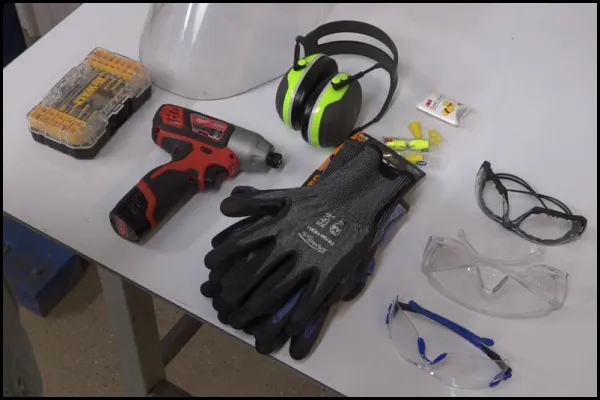
Inspect the housing, holder, controls and battery before use. Remove damaged equipment from service. Follow specified cleaning and servicing procedures; do not add lubricant inside an unfamiliar mechanism.
Never bypass a protective shutdown. Check operating conditions using the manual, and seek service when the cause is unclear or repeatedly returns.
- Isolate power before accessory changes or maintenance.
- Keep battery terminals protected from unintended metal contact.
- Record recurring faults and use approved service parts.
Investigate common fastening problems
Inspect the joint before blaming the driver. Bit fit, pilot holes, thread damage and material variation can produce similar symptoms.
| Symptom | Check | Avoid |
|---|---|---|
| Bit slips from the recess | Bit size, wear, alignment and screw-head damage | Increasing speed against a damaged recess |
| Screw strips or breaks | Joint specification, seating control and fastener suitability | Assuming higher torque is the solution |
| Tool stops repeatedly | Battery condition, load and model-specific troubleshooting | Forced restarts or bypassing protection |
| Accessory pulls out | Approved shank, holder condition and retention | Continuing with an improvised attachment |
- Stop when parts or workpieces become damaged.
- Record the failed setup accurately.
- Change one supported variable before retesting a noncritical sample joint.
Build a distributor sample test around customer work
Compare candidate tools using identical fasteners, substrates and acceptance criteria. Include starting control, final seating, access and inspection of completed joints. A speed contest that ignores damaged screws gives a misleading result.
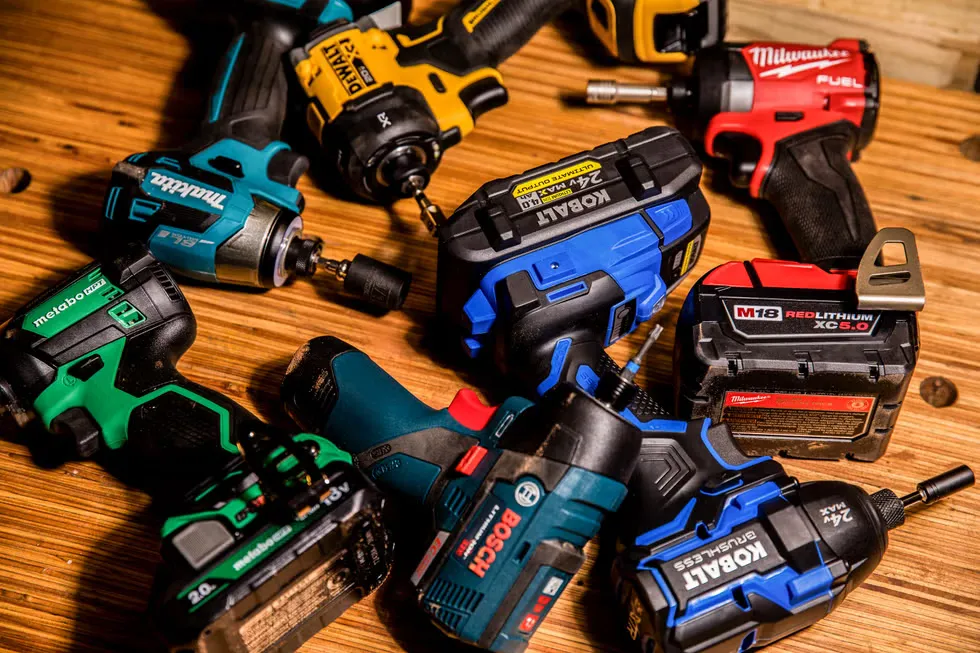
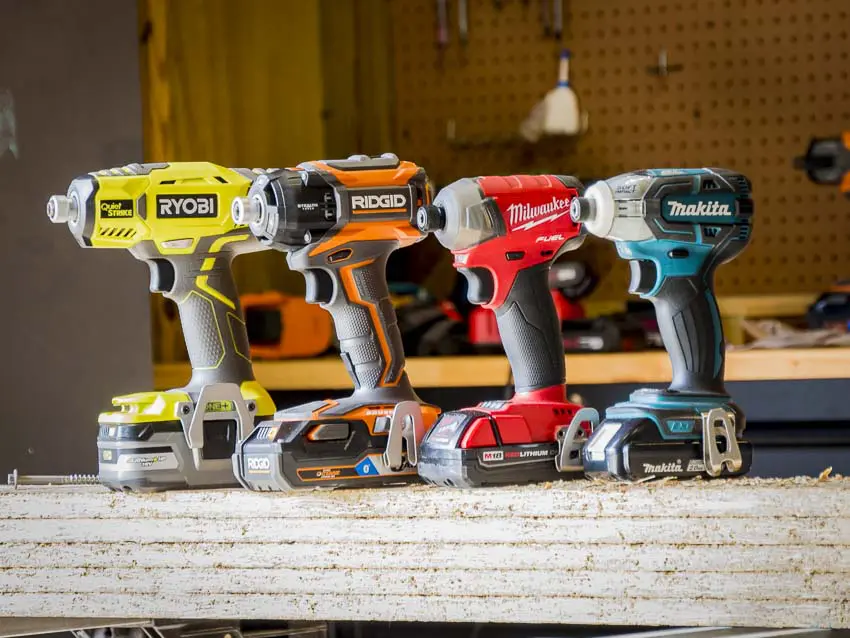
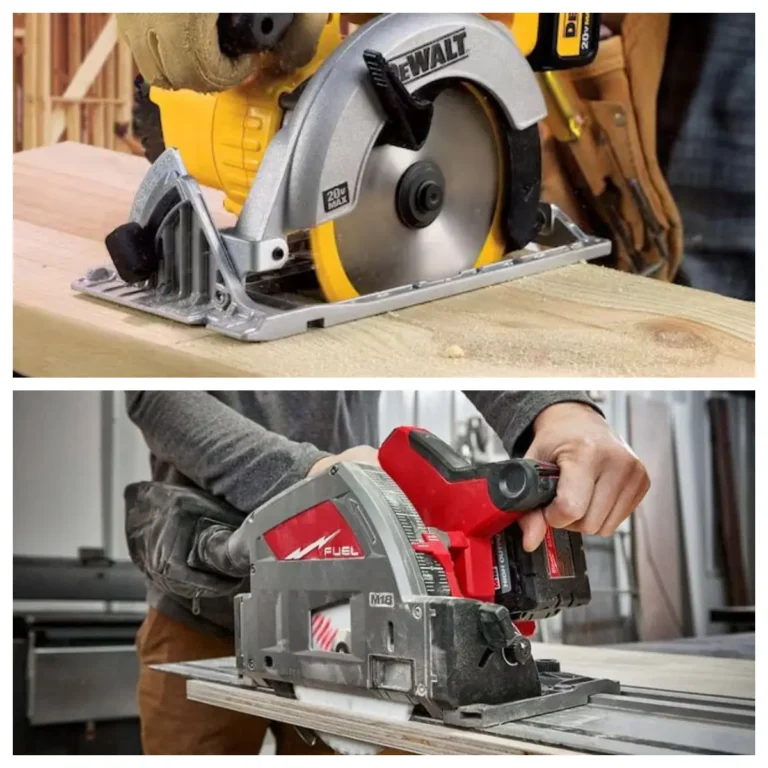
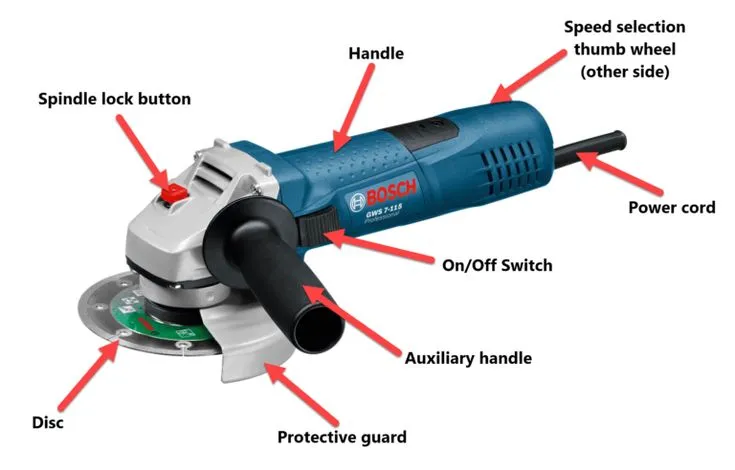
Keep the result tied to its configuration. Record tool model, pack, bit and operating mode. Brand photographs illustrate variation; they are not a tested ranking or a claim of equivalent TEBOWO performance.
- Separate bare-tool pricing from complete-kit pricing.
- Check manuals, spare parts and warranty responsibilities.
- Confirm what changes need approval before repeat orders.
When building a cordless tool assortment, define the impact driver’s role alongside drills and other fastening tools rather than selecting only by maximum torque.
Put the approved setup into your purchase brief
Write down what passed. Include application, fastening trial, battery, charger and accessory contents. Request documentation for the actual configuration and destination market.
For private-label projects, carry the same model identifiers into labels, manuals and packaging. Claims on the box must describe a supported function, not a result inferred from voltage or motor type.
- Identify required versus optional assist modes.
- Confirm approved kit components.
- Retain the accepted sample and written specification.
Send TEBOWO your fastening requirements with fastener type, substrate, anticipated use and kit preference. Ask for model-specific confirmation before committing to an order.
Frequently asked questions
Can an impact driver replace a drill?
Not for every task. It suits many fastening jobs; a drill often provides more appropriate chuck options and control for hole making.
Does impact action prevent stripped screws?
No. Poor bit fit, misalignment and excessive driving can still strip a recess or damage a joint.
Is an assist mode a torque setting?
Not necessarily. Read its documented function. A speed or assist mode should not be treated as calibrated final-torque control.
Can I use ordinary sockets through an adapter?
Use only accessories approved for impact use and the specific setup. The adapter, socket and driver capacity all need checking.
Which voltage is best?
Choose from tested application performance, handling and battery compatibility. A voltage label alone cannot establish the best driver for a job.