Drill masonry by identifying the substrate, selecting an approved tool-and-bit combination and following the fixing’s installation instructions. Hole diameter, depth, drilling mode and cleaning method must match the anchor system. There is no universal speed or hammer setting for every wall.
Brick, hollow block, concrete and stone behave differently. Fragile finishes, concealed services and structural reinforcement add further constraints. This guide gives a planning sequence; structural or safety-critical fixings need competent design and installation.
Identify the wall and check the intended fixing location
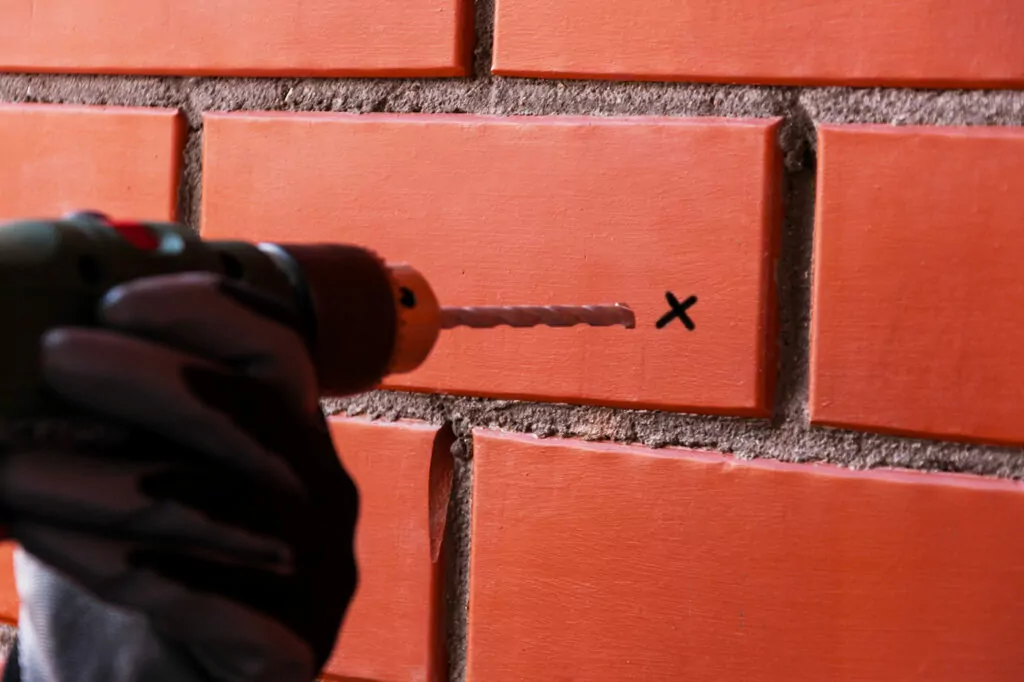
Do not drill into an unknown assembly. Establish wall construction, thickness, condition and any surface finish. Check for electrical wiring, plumbing and other concealed services using suitable information and detection methods. A detector does not remove every uncertainty.
Confirm the fixing location against the anchor’s requirements. Edge distances and spacing depend on substrate, loads and the selected system. A generic “one or two inches from an edge” rule is not an adequate design basis.
- Identify solid, hollow, weak or cracked material.
- Assess access and what lies behind the hole.
- Stop for specialist advice where structure or services remain uncertain.
Choose between rotary drilling, a hammer drill and a rotary hammer
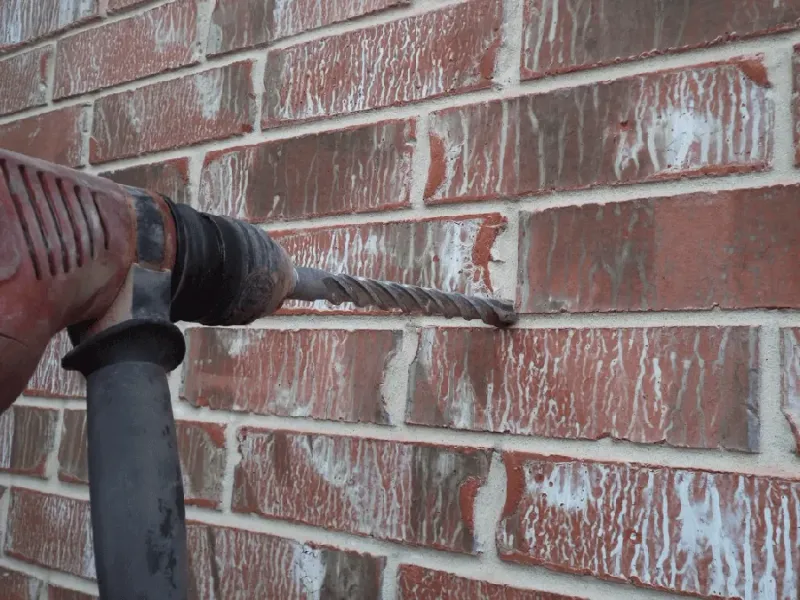
A hammer drill combines rotation with axial percussion, often using a mechanical cam arrangement. A rotary hammer typically uses an electro-pneumatic mechanism. That difference matters more than a torque headline when planning repeated concrete drilling.
| Situation | Method to investigate | Key condition |
|---|---|---|
| Fragile or hollow masonry | Rotary-only drilling where specified | Follow substrate and fixing instructions |
| Occasional holes in suitable solid masonry | Hammer drill with approved masonry bit | Capacity and hole quality must meet requirements |
| Repeated concrete holes | Suitable rotary hammer | Match bit interface, diameter and duty |
| Large openings or specialist coring | Purpose-designed drilling system | Separate equipment, support and dust or water controls |
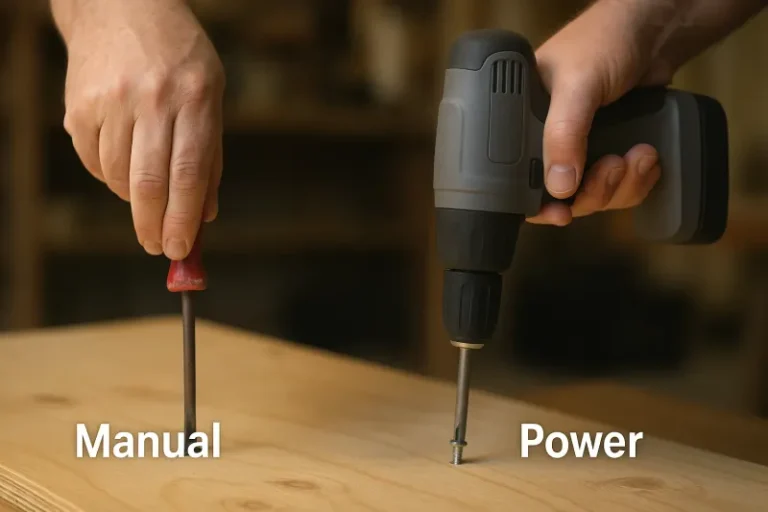
Check the mechanism, not the translated name. An impact driver’s rotational blows differ from axial hammering. Our drill and impact driver comparison clarifies that distinction.
- Confirm material and diameter capacity by model.
- Use only supported modes and accessories.
- Do not assume every hammer drill can chisel without rotation.
Match the bit interface and dimensions to the requirement
A bit must suit the material, drilling mode and tool holder. Standard drill chucks and SDS systems are different interfaces; SDS-Plus and SDS-Max are not directly interchangeable. Use the exact compatible system.
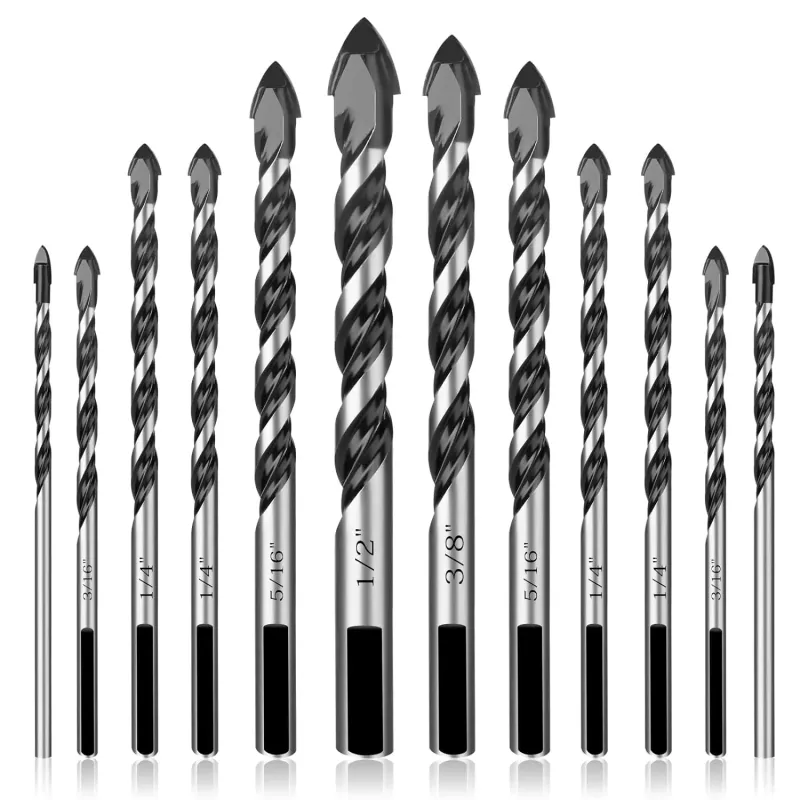
Use the fixing’s specified hole diameter. Do not choose by the screw’s appearance or assume every anchor needs a hole matching its outside diameter. Working length must also provide the required depth without exceeding tool or accessory limits.
Large openings may require a different accessory category and procedure. Our hole saw selection guide introduces material-specific choices; it does not authorize a standard hole saw for concrete.
- Inspect the bit for damage and unacceptable wear.
- Verify shank fit and retention before use.
- Use model instructions for any required shank maintenance.
Set up dust control and a stable working position
Drilling masonry can release fine silica-containing dust. Plan capture at the source with equipment suitable for the task. HSE’s construction dust guidance explains why a mask alone is not a complete control strategy.
Provide suitable eye and hearing protection, plus respiratory protection where the assessment requires it. Consider nearby people and cleanup as well as the operator. Do not dry-sweep or casually blow dust around the work area.
Arrange support before starting. Use a stable platform and the grips specified by the tool manufacturer. Secure loose material mechanically; another person’s hand is not a substitute for proper workholding.
- Check extraction connections and collection capacity.
- Keep hands away from rotating bits.
- Route cables and hoses away from movement and cutting hazards.
For corded equipment, confirm the supply configuration using the power-tool voltage guide and the model’s rating.
Establish depth and drilling mode before making the hole
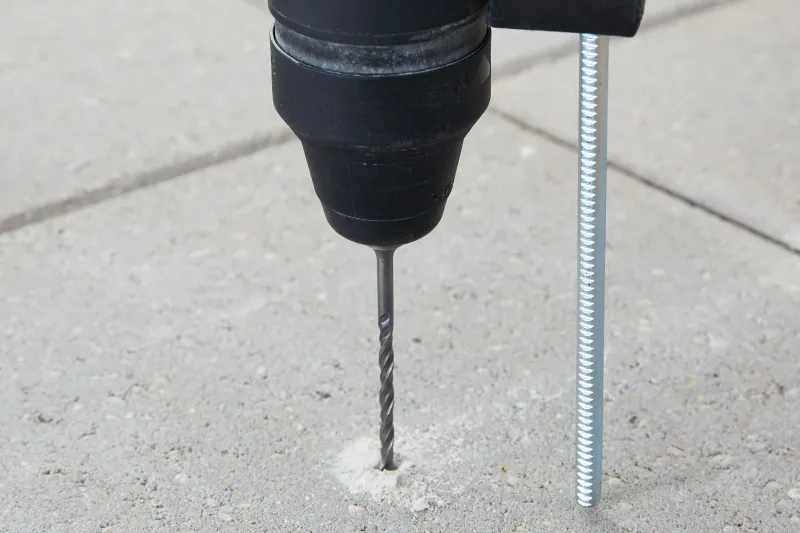
The required drilled depth comes from installation instructions, not a visual comparison with a screw. Set an appropriate depth stop and verify the measurement. Counting seconds is not a reliable depth-control method.
Separate starting control from operating speed. Starting gently may help establish position, but the correct working speed depends on bit, diameter, material and machine. “Always use the lowest speed” is not a universal masonry rule.
- Check depth, mode and rotation direction.
- Use an approved guide or starting method where required.
- Do not add a pilot hole unless the drilling and fixing procedure permits it.
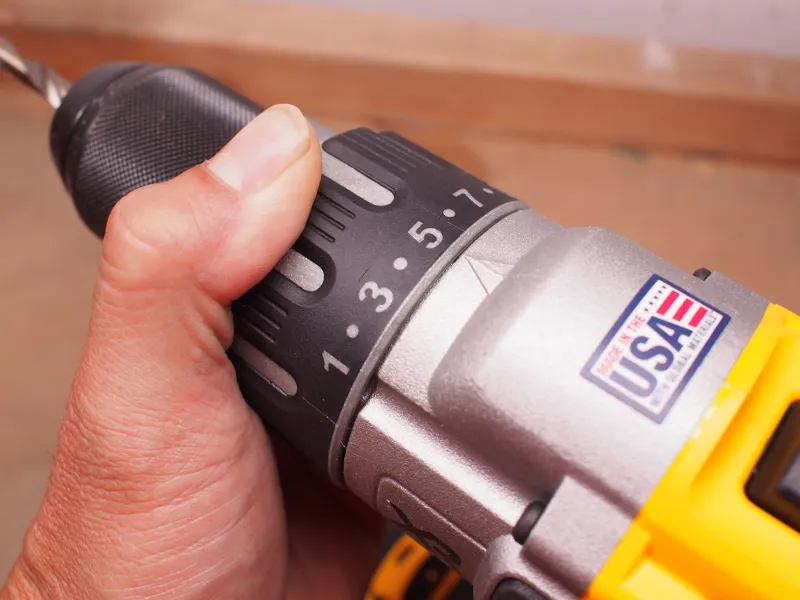
Mode symbols also matter. A screwdriving clutch setting does not define an anchor hole’s dimensions or drilling energy.
Drill with control and stop when conditions change
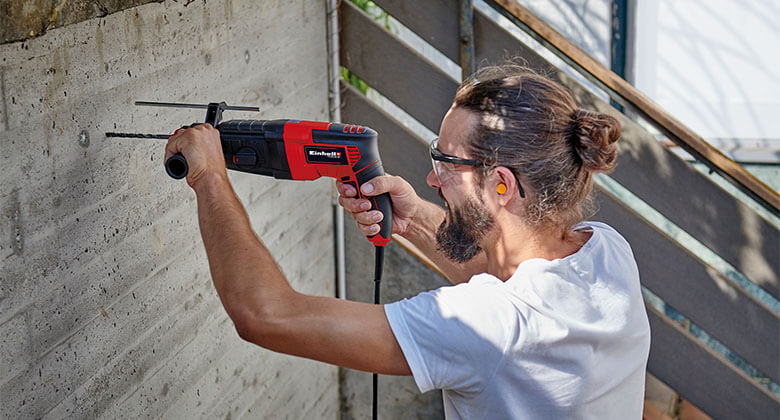
Maintain the required alignment and feed pressure described for the equipment. Let the bit cut without forcing it sideways to enlarge the hole. Follow the tool and extraction instructions for clearing debris during drilling.
Unexpected resistance requires investigation. A stalled bit could indicate an obstruction, unsuitable bit, packed debris or a change in material. Stop and isolate the tool before inspecting or adjusting it. Never assume hidden metal is safe to cut.
- Stop for abnormal noise, heat or vibration.
- Do not bypass a clutch or electronic protection.
- Do not improvise water cooling on equipment intended for dry use.
If reinforcement or a prestressing tendon may be present, obtain an authorized drilling plan. A bit advertised for reinforced concrete does not grant permission to cut structural steel.
Handle tiles, hollow blocks and weak masonry separately
A tiled face needs a tile-compatible bit and procedure. Percussion can crack brittle surfaces; do not switch it on merely because an initial indentation exists. Determine the backing material and transition method before continuing.
Hollow blocks and weak masonry may require rotary-only drilling or a different fixing system. Old mortar is not automatically a suitable alternative anchor location. Conditions must fit the fixing’s documented use.
Reassess rather than increase force. Crumbling edges, unexpected voids or excessive breakout indicate that the original plan may no longer apply.
- Use substrate-specific installation instructions.
- Do not conceal an oversized or damaged hole with an improvised filler.
- Refer valuable historic material to a competent specialist.
Clean and install according to the exact anchor system
Hole cleaning and installation are separate acceptance steps. Follow the selected product’s instructions for equipment, sequence and any permitted exceptions. A general vacuum pass does not automatically meet every adhesive or mechanical anchor requirement.
Hilti’s hole-cleaning explanation makes the important distinction: the correct method depends on the specific anchor and manufacturer. Approved hollow-bit systems can have different requirements from conventional drilling.
Do not substitute a familiar routine. Verify required embedment, fixture thickness, installation torque and any adhesive curing conditions before applying load.
- Check completed hole condition and dimensions.
- Use the documented cleaning and setting sequence.
- Record installation details where the project requires traceability.
If powered fastening is permitted, select the correct tool and mode. Our impact driver guide explains why impact duration alone cannot verify final tightening torque.
Troubleshoot the hole before blaming the drill
Change one cause at a time. Inspect the accessory, setup and substrate before buying a more powerful machine. Motor labels cannot correct an unsuitable drilling method; our brushless motor guide explains that limitation.
| Symptom | Possible cause | Next check |
|---|---|---|
| Little progress | Wrong mode, worn bit or unsuitable tool | Verify setup and rated application |
| Sudden stall | Obstruction or binding | Stop, isolate and investigate |
| Oversized hole | Wear, movement or damaged substrate | Assess against anchor instructions; do not improvise a repair |
| Cracking or breakout | Unsuitable percussion, position or substrate | Stop and reassess fixing design |
| Excess heat or dust escape | Overload, blocked extraction or unsuitable method | Inspect equipment and controls before resuming |
- Replace damaged accessories through the approved procedure.
- Follow maintenance instructions rather than a fixed holes-per-bit rule.
- Keep unacceptable holes out of the accepted installation record.
Specify a masonry-drilling kit by its complete workflow
Distributors should define material, common hole sizes, expected repetition and dust-control requirements before selecting models. Include compatible bits, handles, stops, extraction accessories and instructions in the comparison.
Ask for a documented application test. A cordless tool sourcing brief should identify the tested configuration and acceptance criteria. For customized kits and manuals, distinguish drilling guidance from anchor-specific installation requirements.
When comparing suppliers, use the model and market checks in our power tool buying guide. A brand’s reputation does not confirm that a particular kit supports your drilling method.
- Confirm supported bit interfaces and drilling modes.
- Evaluate handling with extraction and battery attached.
- Plan spare accessories and service support for the intended market.
Frequently asked questions
Must every masonry hole use hammer mode?
No. Some fragile or hollow substrates require rotary-only drilling. Follow the substrate, bit and fixing instructions.
Can I use an impact driver instead?
Rotational impact fastening differs from axial percussion drilling. Do not assume an impact driver is an appropriate masonry-drilling substitute.
Should I always drill a small pilot hole first?
No. Use a pilot only when the approved procedure calls for it; otherwise it may change hole quality or accessory behavior.
Can I drill through reinforcement?
Not without confirming structural permission and an appropriate method. Stop when unexpected metal or resistance is encountered.
How should I clean an anchor hole?
Use the exact anchor manufacturer’s current installation instructions. Cleaning equipment and sequence vary by product and drilling method.