Use power sanding for repeatable work across accessible surfaces. Use hand sanding where a block or shaped pad gives better control of an edge, recess or delicate profile. Many jobs need both, but hand sanding is not an obligatory final step for every finish.
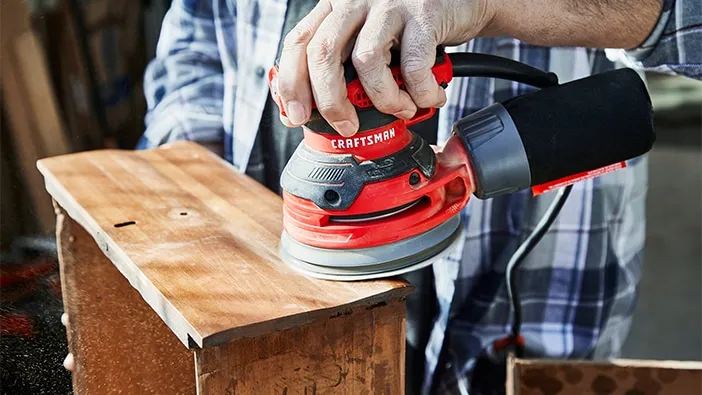
Choose by material, geometry and the next finishing operation. A method that removes stock quickly can still be wrong for thin veneer or a sharply defined corner. For machine types, see our separate power sander selection guide.
Choose by surface, not by a universal winner
Mark the areas that need different treatment. A cabinet panel may have a broad face, narrow edges and a molded profile. Treating all three with one pad creates avoidable risk.
| Surface or task | Starting approach | What to watch |
|---|---|---|
| Broad, accessible solid-wood face | Suitable power sander with extraction | Flatness, scratch removal and uneven dwell |
| Sharp edge or narrow molding | Hand block or matched profile pad | Unwanted rounding and loss of detail |
| Thin or unknown veneer | Assess remaining material; test conservatively | Either method can sand through a surface layer |
| Recess or inside corner | Hand pad or suitable detail-sanding system | Access without damaging adjacent faces |
| Between-coat preparation | Follow the coating supplier’s method | Cure state, abrasive choice and residue removal |
First establish whether sanding is appropriate. Unknown old coatings need assessment before creating dust. Valuable historical finishes may need specialist conservation rather than removal.
- Identify substrate and coating.
- Separate flat areas from profiles and vulnerable edges.
- Define an acceptable finished sample before processing a batch.
Where power sanding earns its place
A motor provides repeated abrasive movement without requiring every stroke by hand. That can reduce manual work on open surfaces. Output still depends on abrasive condition, pad contact, extraction and operator technique.
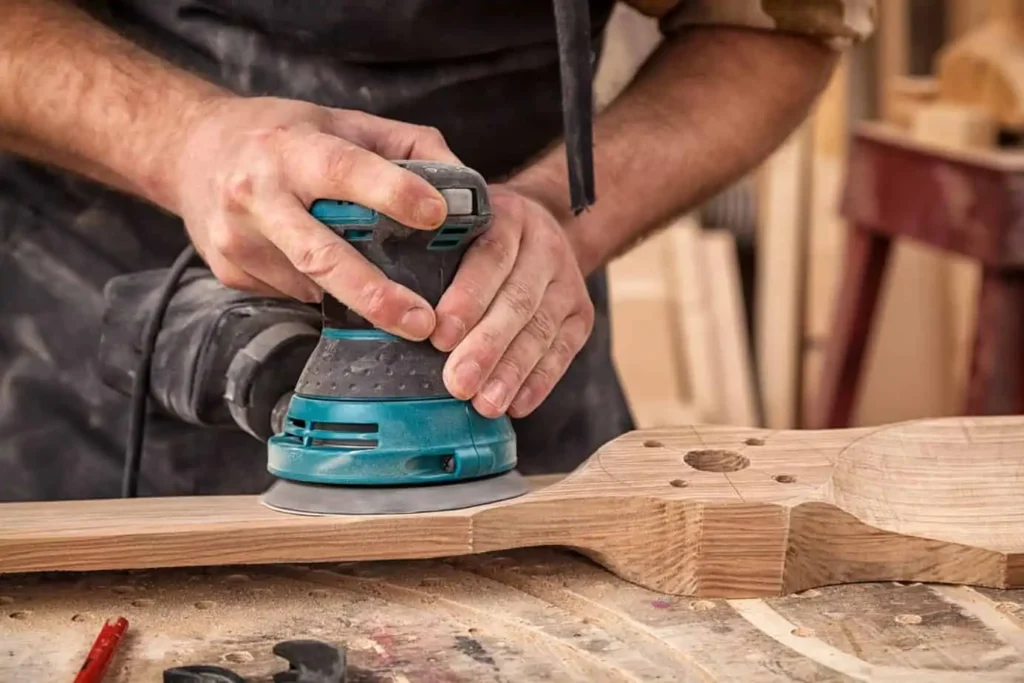
Random-orbit, orbital finishing and belt sanders do not leave identical scratch patterns or remove stock in the same way. Tool selection must suit the task; a fast-removing machine can increase rework if it rounds edges or cuts through veneer.
Compare accepted output, not running time. Include setup, disc changes, cleanup and rejected parts when measuring productivity. There is no defensible universal claim that a power sander works five or ten times faster.
- Keep the pad supported as instructed.
- Use an abrasive and backing suited to the surface.
- Investigate loaded discs or poor extraction before adding pressure.
For cordless purchasing, our brushless motor explanation helps distinguish motor construction from whole-tool results. It does not replace a sanding trial.
Where hand sanding gives better control
A firm block helps preserve a flat face; a shaped or flexible backing can follow a contour. Using fingers alone concentrates pressure and may form hollows. Choose backing shape as deliberately as grit.
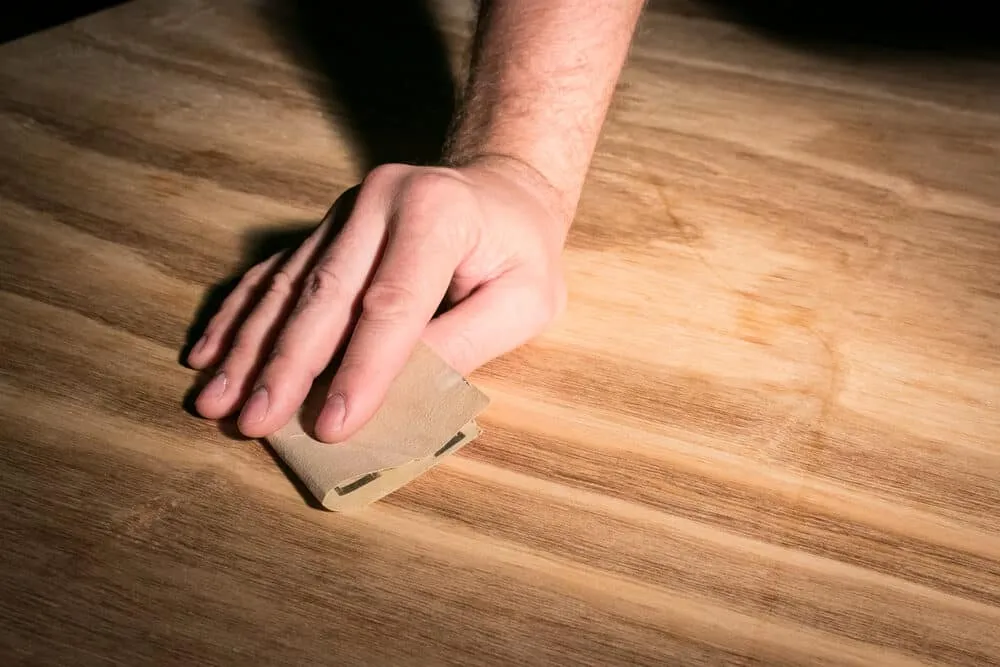
Hand work is useful around profiles, localized defects and transitions where a machine pad has poor support. It can also reduce setup for a small touch-up. Repetitive work still takes effort and produces dust.
Slower does not mean damage-proof. Coarse abrasive on a hand block can remove a thin surface layer or soften a crisp corner. Inspect frequently rather than relying on feel alone.
- Match block stiffness to the shape you must preserve.
- Use controlled strokes and inspect under angled light.
- Stop before a decorative edge or veneer boundary changes shape.
After a curved jigsaw cut, hand finishing can refine an already accurate edge. A badly wandering cut should be corrected at the cutting stage instead of hidden through excessive sanding.
Use a combined workflow with clear stopping points
Assign each method a job. Do not power-sand every face and then repeat everything by hand merely out of habit. Use inspection to decide what remains.
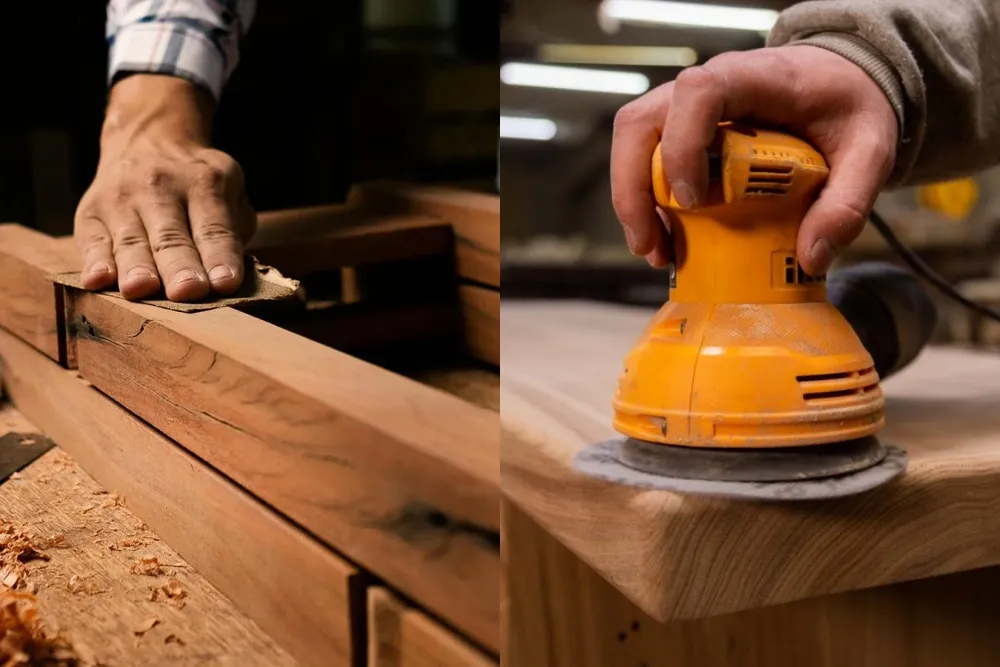
- Check upstream machining. Confirm dimensions and cut quality. Repeated torn edges may call for a better saw blade selection, not more abrasive removal.
- Prepare open faces. Use a suitable machine and abrasive to remove the identified defects, preserving required dimensions.
- Inspect between stages. Remove dust by an appropriate method and check remaining scratches under consistent lighting.
- Address details. Switch to a block or profile pad where machine access or pad support becomes poor.
- Verify finishing readiness. Compare with the approved sample and coating instructions before applying a finish.
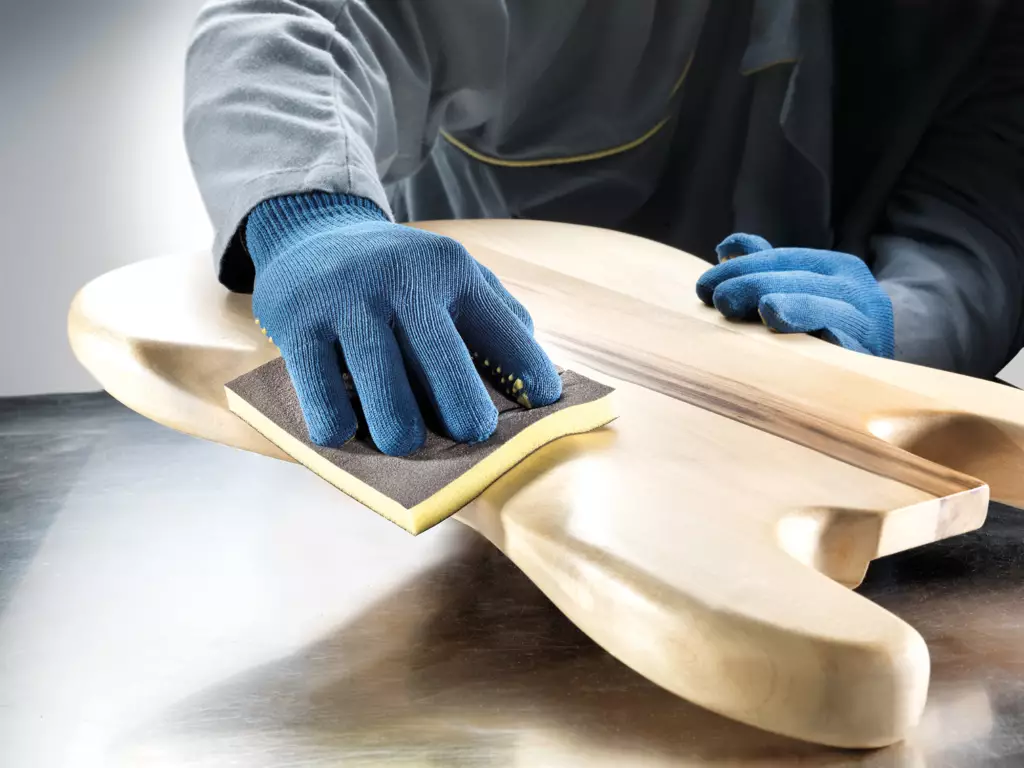
For angled parts, preserve the geometry described in our bevel versus miter guide. Unplanned edge rounding can affect how a joint closes.
- Identify the defect each stage must remove.
- Keep an inspection point before changing grit.
- Stop when the agreed surface condition is reached.
Select abrasive progression for the finish
Starting grit should match the defects that need removal and the amount of material available. Finishing grit should suit the substrate and intended coating. A fixed sequence is not appropriate for every wood, veneer or finish.
Progress until scratches from a preceding stage are removed. If deep scratches persist, changing to a very fine abrasive may simply make their removal slower. Equally, unnecessary coarse sanding can damage material that was already close to ready.
Use a finished test panel. A bare surface can look acceptable until stain or coating emphasizes its scratches. Keep the approved abrasive sequence with that panel.
- Check the coating maker’s surface-preparation instructions.
- Record abrasive product as well as grit.
- Replace worn or clogged abrasives rather than forcing them.
Festool’s practical sanding guidance discusses matching tool movement, abrasives and task. Its product-specific settings should not be treated as universal instructions for another machine.
Plan dust control for both methods
Hand sanding can release hazardous dust even though it is quieter and unpowered. Power sanding can generate substantial dust and noise. Choose controls based on the material, coating, exposure and workplace conditions.
A collection bag is not proof of adequate control. Check extraction compatibility and performance. Use the required protective equipment alongside engineering controls, following applicable workplace requirements.
- Assess unfamiliar coatings before disturbing them.
- Inspect extraction connections, hoses and filters.
- Keep dust from spreading through the workspace during cleanup.
- Use wet methods only when substrate, finish and equipment explicitly support them.
The UK HSE’s wood cutting and sanding guidance emphasizes assessment, source extraction and suitable respiratory protection where needed. It is not a basis for claiming that one mask type suits every sanding job.
Compare total working cost before buying
Hand sanding has a relatively small equipment requirement, but abrasives, labor and rework still count. Power sanding adds equipment and extraction costs, plus pads, maintenance and power or battery management.
| Measure | Include in a trial |
|---|---|
| Labor | Preparation, sanding, inspection, handling and cleanup |
| Consumables | Abrasives, backing pads and relevant extraction supplies |
| Quality | Accepted finish, dimensional change and rework |
| Equipment | Tool, dust control, maintenance and power provision |
Measure the same job twice. Compare equivalent parts and an identical acceptance standard. Do not compare rough machine preparation with completed hand finishing.
- Use representative materials and operators.
- Include edge work and cleanup in timing.
- Document limitations rather than promising a fixed payback period.
If adding sanders to a cordless tool range, evaluate pad size, abrasive availability, extraction connection and kit contents. Those details shape support requirements after sale.
Specify a sanding system your customers can use
Sell a defined application, not an all-purpose promise. State which surfaces and tasks the tool is intended for. Identify compatible abrasives, accessories and extraction equipment using model documentation.
For private-label customization, review packaging and instructions alongside the tool. A sample kit should make abrasive fit, replacement items and basic use limitations clear.
- Confirm model-specific intended use.
- Retain sample-test results and the accepted finish.
- Plan availability of replacement pads and consumables.
Send TEBOWO a sanding application brief with substrate, surface geometry, required finish and expected kit contents. Ask for confirmation of suitable models before selecting branding or packaging.
Frequently asked questions
Is hand sanding always needed after power sanding?
No. Inspect against the required finish. Hand sanding is useful where it solves remaining scratches or access problems, not as an automatic extra stage.
Can hand sanding damage veneer?
Yes. Abrasive grade, pressure and remaining veneer thickness matter with either method. Assess the surface and test conservatively.
How much faster is power sanding?
That depends on the job and acceptance criteria. Time a representative process including setup, edge work, cleanup and rework instead of relying on a fixed multiplier.
What grit should I finish with?
Follow substrate and coating instructions, then verify on a test panel. There is no single final grit appropriate for every finish.
Does hand sanding need dust control?
Yes, dust hazards do not disappear when a motor is absent. Assess the material and work conditions, then use appropriate controls and protection.