A jigsaw uses a narrow, reciprocating blade to cut curves, openings and short straight lines. Its shoe rests on a workpiece while the blade moves through it. Blade choice, support and feed pressure determine whether a cut follows its mark cleanly.

For distributors, the useful question is which jobs a model can perform with an available blade and a repeatable setup. This guide covers that setup without assuming every jigsaw has identical controls or cutting capacity.
Decide whether a jigsaw fits your cut
Start with the shape. A jigsaw suits curved furniture parts, notches and interior openings where a narrow blade provides access. It can make straight cuts, but a long, square panel edge demands more than following a pencil line.
Our electric saw selection guide helps separate curved cutting from panel sizing and demolition. For rough removal work, compare jigsaws and reciprocating saws before selecting a blade.
- Choose a jigsaw when access and curves matter.
- Check required edge quality and squareness.
- Confirm material and thickness against the specific tool and blade ratings.
Learn the controls before setting a blade
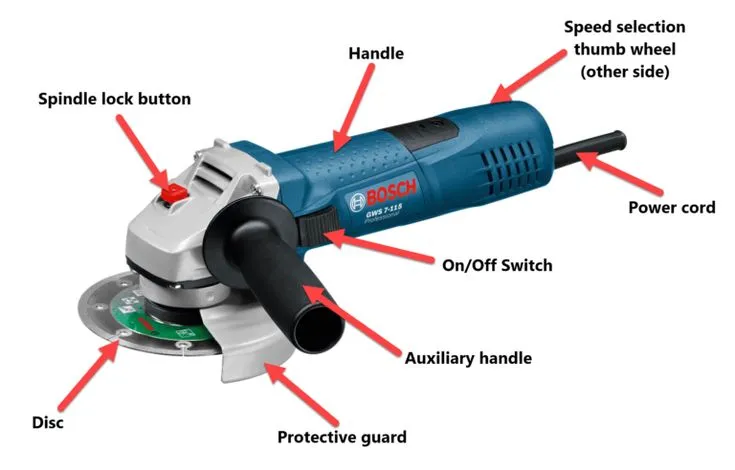
The shoe supports the saw and may tilt for bevels. A blade clamp retains a compatible shank; a guide supports the blade during cutting. Speed controls adjust stroke rate, while an orbital selector changes blade movement.
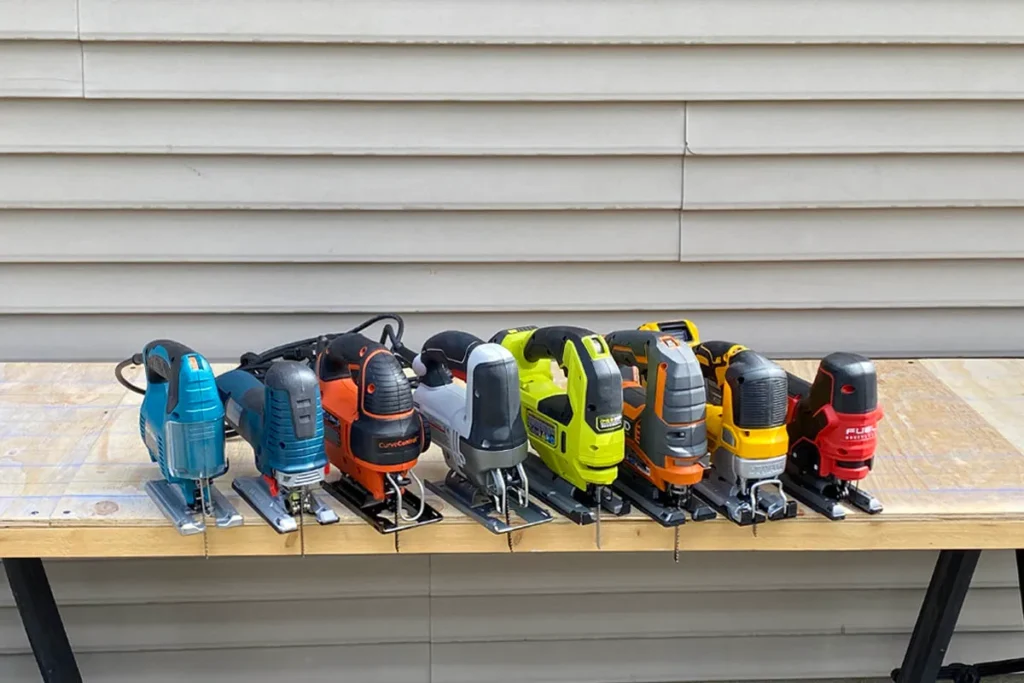
Handle shape, power source and orbital action are separate attributes. A cordless saw can have either a top handle or a barrel grip. Orbital action does not define a separate class reserved for straight cuts.
Check the sample in your hand. Confirm access to switches, visibility of the cut line and support during a bevel. A specification sheet cannot show how comfortably a buyer can hold a particular model.
- Locate stop, speed and orbital controls.
- Check shoe adjustment and locking.
- Identify compatible blades and dust-extraction fittings in the manual.
Select blades by material, thickness and cut shape
Use the blade maker’s application range. Tooth pitch, blade width, tooth direction and working length matter alongside blade material. A “metal blade” label alone does not tell you whether it suits a particular sheet thickness.
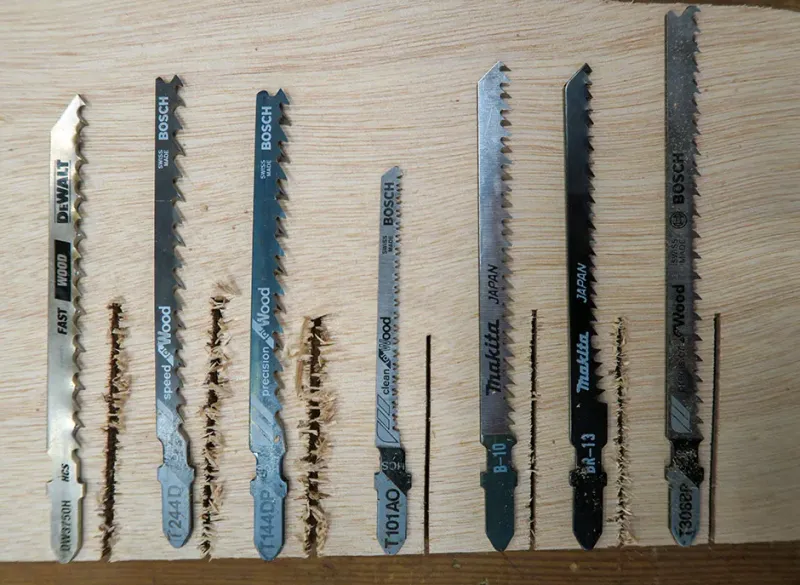
| Job | Blade detail to check | Sample-cut check |
|---|---|---|
| Curves in wood | Material rating and suitability for the required radius | Turns without forced sideways pressure |
| Visible laminate edge | Tooth direction and finish specification | Chipping on both faces |
| Sheet metal | Metal type and supported thickness range | Tooth engagement, chatter and edge condition |
| Plastic sheet | Specific polymer suitability | Melting, cracking and chip clearance |
Do not guess from length alone. Check working length and clearance throughout a full stroke. A longer blade does not increase the saw’s rated capacity.
- Match shank style to the clamp.
- Reject bent, cracked or visibly damaged blades.
- Keep blade identity with sample-test results.
Set orbital action and speed separately
Orbital action adds a forward component to blade movement. It can increase cutting aggressiveness, but a rougher cut may result. Stroke rate changes how quickly a blade reciprocates. Neither setting should be selected from an assumed universal dial scale.
Begin with recommendations for your model, blade and material. Use a scrap piece with matching thickness and finish. Record settings after checking both edge quality and underside squareness.
Change one variable at a time. If a cut deteriorates, review blade condition, feed pressure and support before turning every control.
- Distinguish speed from orbital movement.
- Use the maker’s recommended setting for metal and delicate finishes.
- Avoid treating maximum speed as a default for every blade.
Support the work and plan the cutting path
Clamp the work to a stable support. Keep the blade’s full path clear underneath, including its movement beyond the visible surface. Plan how a cutoff will remain supported without closing the kerf or trapping the blade.
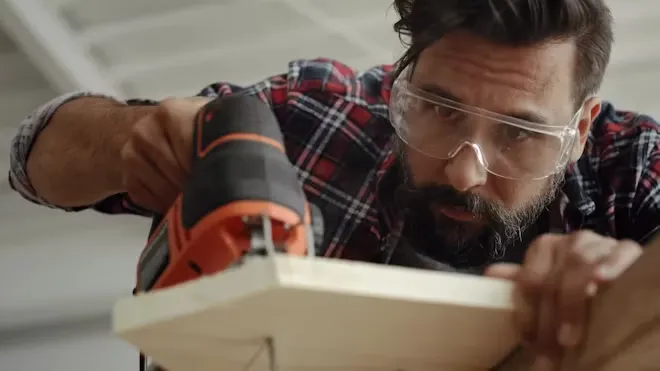
Disconnect power before installing a blade or adjusting the shoe. Check retention using the manual’s procedure. Inspect for concealed services and fasteners where relevant, and keep hands outside the cutting path.
Prepare the support before switching on. An unstable offcut cannot be fixed safely by reaching under a running saw.
- Check clamping, blade clearance and cable routing.
- Select eye protection and other protective measures for the work.
- Use appropriate dust extraction; a blower clearing the line does not collect airborne dust.
Make straight cuts without forcing the blade
Follow the model’s starting procedure with the shoe supported and blade clear of contact. Guide steadily, keeping the shoe seated. Excessive pushing can bend the blade away from the intended line beneath the surface.
A compatible guide can help track a straight line, but it cannot guarantee a square edge if the blade deflects. Test the entire cutting system before committing a finished panel. Bosch’s jigsaw working advice specifically notes that material and blade characteristics affect angular accuracy.
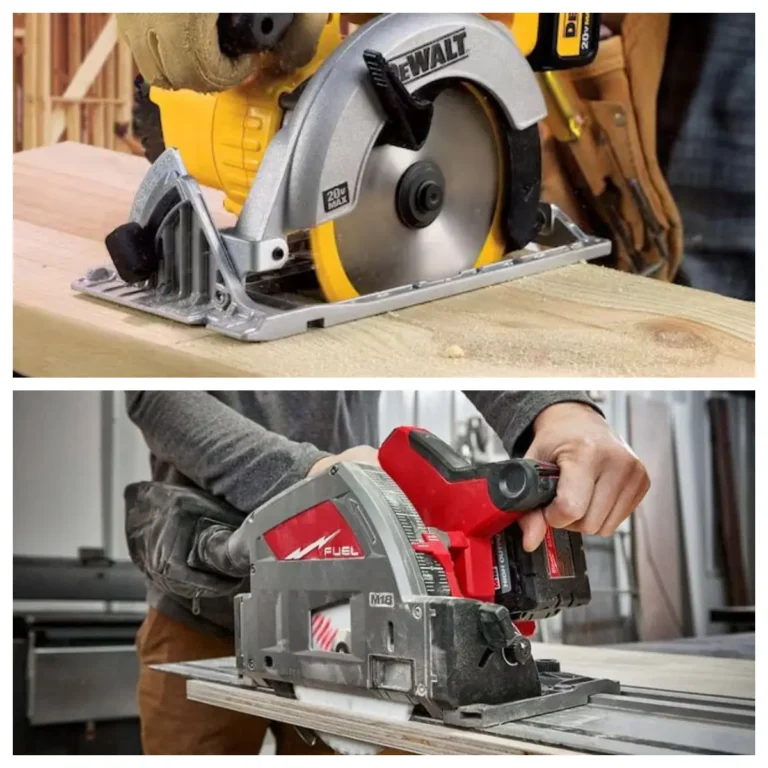
Inspect underneath as well. A tidy top edge can hide a sloping cut face. For repeated long panel cuts, compare plunge and circular saw setups.
- Verify straightness and squareness on scrap.
- Keep feed pressure moderate.
- Stop if a blade jams; isolate power before resolving the problem.
Cut curves, openings and bevels deliberately
For curves, use a blade rated for the required radius and steer gradually. Do not twist a wide blade around a corner it cannot follow. Plan relief cuts where suitable and support waste pieces.
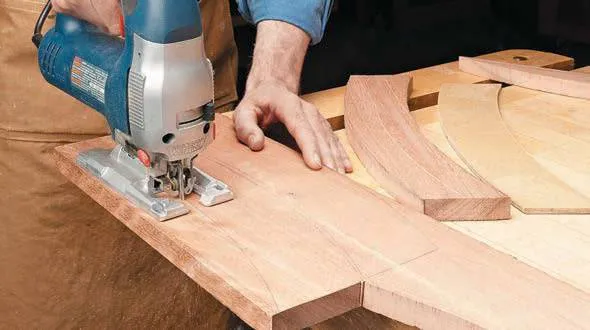
An interior opening can start from an appropriately sized drilled hole in the waste area. Keep the blade clear while positioning. For a circular opening, consider whether a correctly selected hole saw is a better fit.
Plunge cutting is model- and material-dependent. Do not apply a generic plunge technique to metal or an unsupported material. Follow explicit tool instructions or use a starter hole.
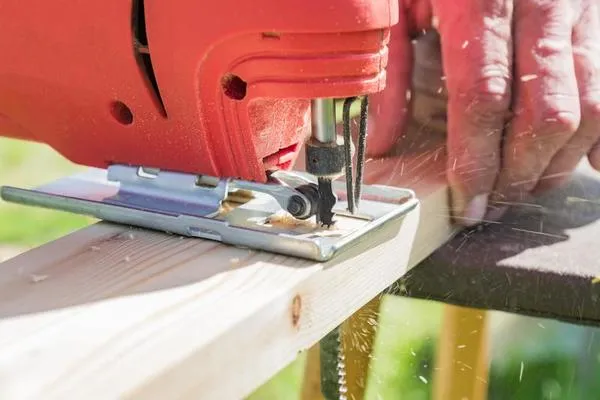
Verify bevels with a test piece. Disconnect power, set and lock the shoe, then check an actual cut. Our bevel and miter explanation clarifies which angle you are changing.
- Check blade clearance again after tilting the shoe.
- Maintain firm work support throughout the cut.
- Wait for complete blade standstill before withdrawing or setting down the saw.
Diagnose poor edges before changing tools
Cut quality depends on the combined setup. Up-cut teeth can pull fibers from a visible top face; reverse-tooth or other finish-specific designs behave differently. Check the blade instructions and test which face needs protection.
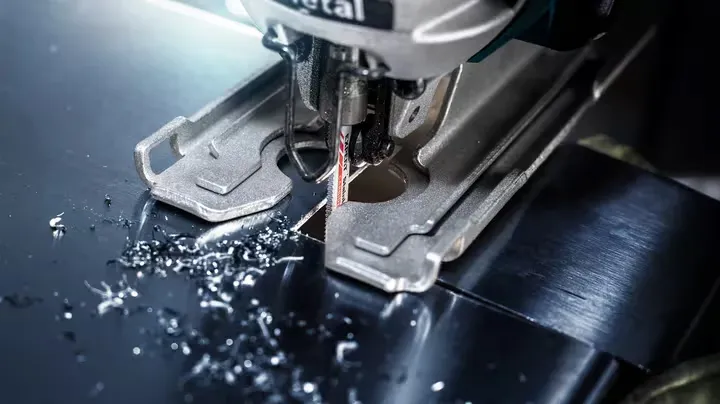
Find the cause, not a universal speed number. Lubricants, if required, must suit the tool, blade and material. Do not add water to an ordinary electric jigsaw as a general dust-control method.
| Problem | Check first | Decision |
|---|---|---|
| Wandering or sloping edge | Blade condition, stiffness, support and feed pressure | Retest; consider a different saw for demanding straight cuts |
| Tear-out | Tooth direction, finish rating and backing | Protect the visible face with a compatible setup |
| Melting or burning | Blade suitability, sharpness, speed and chip clearance | Stop and correct the setup before continuing |
| Chatter | Work support, blade retention and damaged components | Do not continue until its cause is resolved |
For light edge finishing after a successful cut, compare hand sanding and power sanding. Sanding should not conceal a cut that fails dimensional requirements.
Maintain the shoe, guide and blade clamp
Disconnect power before cleaning or inspection. Remove accumulated debris using the manual’s method. Inspect the shoe, guide and clamp for damage, particularly after a drop or a jam.
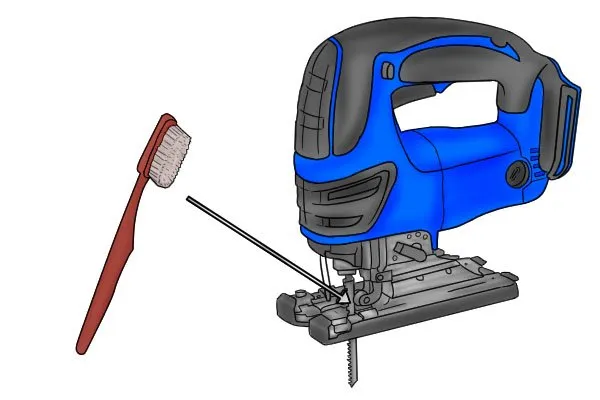
Lubrication points and service intervals vary. Do not apply general-purpose oil throughout the clamp or motor housing. Electrical faults, damaged controls and loose mechanisms need appropriate service rather than improvised repair.
Keep maintenance model-specific. Record the fault, blade used and operating conditions when requesting service.
- Replace damaged or unsuitable blades.
- Follow approved cleaning and lubrication instructions.
- Use the specified battery, charger and storage guidance for cordless models.
Evaluate a sample before stocking a range
Test the jobs customers actually buy for. Compare a curve, a straight cut and an intended bevel using documented materials and blades. Record edge condition, cut squareness, handling, blade changes and dust-extraction compatibility.
When reviewing a cordless tool assortment, specify whether the jigsaw is a bare tool or includes batteries, charger and blades. Each included blade needs a clear application description.
- Confirm advertised capacity with the model documentation.
- Check replacement blades and service parts in your market.
- Keep approved sample results with the purchase specification.
Send TEBOWO your jigsaw application brief with material, thickness, cut shape and kit requirements. Ask for confirmation of the exact model configuration before ordering.
Frequently asked questions
Can a jigsaw cut straight?
Yes, but blade deflection can affect squareness. Use suitable guides and sample cuts; consider a circular or plunge saw for repeated long panel cuts.
Does every jigsaw blade cut on the upstroke?
No. Tooth direction differs between designs. Choose a blade for the material and required finish, then test both faces.
Does a longer blade allow thicker cuts?
Not by itself. Tool capacity, blade working range and clearance throughout the stroke must all suit the workpiece.
Should orbital action always be switched on?
No. It changes cutting aggressiveness. Follow tool and blade recommendations for the material and finish rather than using one setting everywhere.
Can I start any internal cut by plunging?
No. Plunging requires explicit support in the model instructions and a suitable blade and material. A correctly prepared starter hole is often the appropriate approach.