
Stuck between buying a miter saw or circular saw? The wrong choice could waste your money and leave projects unfinished. Many beginners face this exact dilemma.
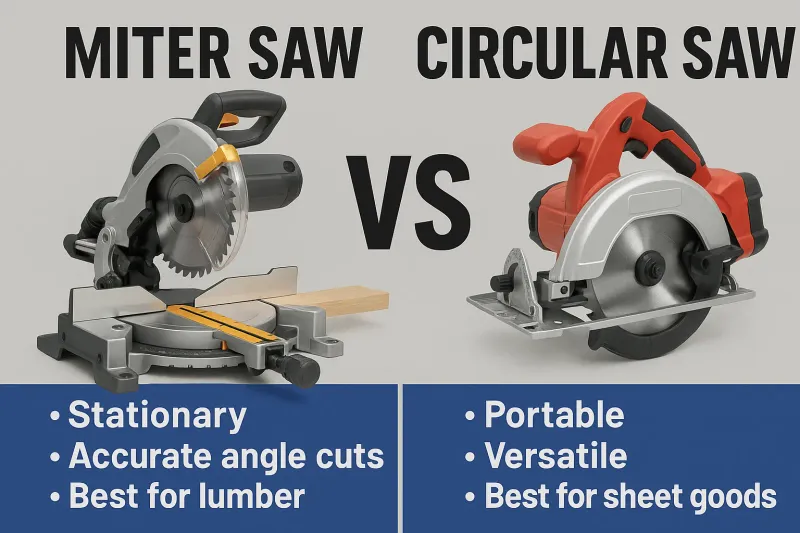
For most beginners, a miter saw is the better first purchase due to its stability, safety, and accuracy for lumber projects. A circular saw offers more versatility for cutting sheet goods like plywood, but requires more skill to use effectively and safely.
If you’re ready to start building but confused about which saw to buy first, you’re not alone. Let’s break down the differences, uses, and benefits of each tool to help you make the right choice for your specific needs.
Feeling overwhelmed by all the power tool options? You’re not alone. Many new DIYers struggle to understand the key differences between these essential saws.
The fundamental difference is that miter saws excel at making precise angle cuts across lumber, while circular saws are portable tools designed to cut through various materials including large sheets of plywood that won’t fit on a miter saw.
When you’re just starting your woodworking journey, understanding the basic differences between these two popular saws is crucial. Think of the miter saw as your precision instrument and the circular saw as your versatile workhorse.
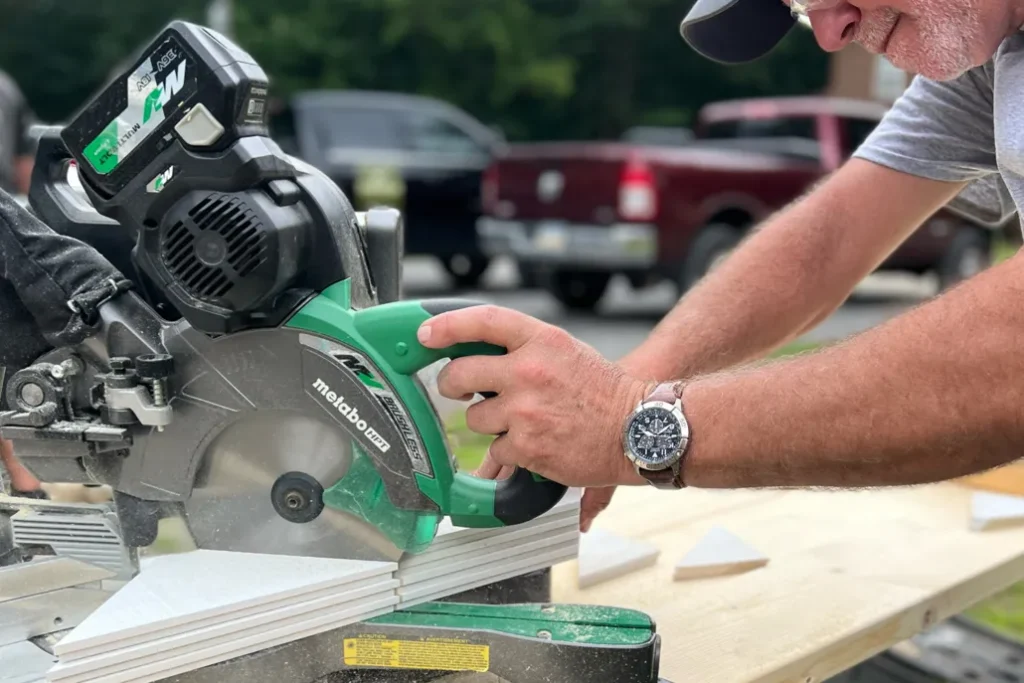
Miter saws are stationary tools where the workpiece is brought to the saw. The saw itself pivots down to make cuts across boards. This design provides excellent stability and precision, especially for:
Circular saws, on the other hand, are handheld tools that you move across the workpiece. This mobility makes them ideal for:
To truly grasp the difference between these saws, you need to understand the types of cuts they make:
| Cut Type | Description | Miter Saw | Circular Saw |
|---|---|---|---|
| Cross Cut | Straight cut across the grain | Excellent | Good with guide |
| Miter Cut | Angled cut across width | Excellent | Difficult |
| Bevel Cut | Angled cut through thickness | Good | Possible but tricky |
| Rip Cut | Cut along length of board | Not possible | Good |
| Sheet Goods | Cutting plywood, etc. | Limited by size | Excellent |
The miter saw’s design makes it incredibly easy to make accurate angle cuts. Most miter saws have preset stops at common angles (like 45°, 30°, and 22.5°), making it simple to create perfect corners for frames, trim work, and furniture projects.
While a circular saw can technically make miter and bevel cuts, achieving the same level of precision requires significant skill and often additional jigs or guides. For beginners especially, this difference in ease-of-use is substantial and shouldn’t be underestimated.
Facing the tough decision of which saw to invest in first? Your budget is limited, and you don’t want to waste money on a tool that won’t meet your needs.
For beginners, a miter saw is often the better first purchase because it’s stationary, safer to operate, and delivers consistent, accurate cuts with minimal practice. However, if you plan to work primarily with plywood or need maximum versatility, start with a circular saw.

The decision about which saw to purchase first depends largely on the types of projects you plan to tackle. This choice can significantly impact your woodworking journey, either making your initial projects satisfying successes or frustrating failures.
For those new to power tools, safety should be a primary concern. Miter saws have several advantages in this area:
Circular saws require you to move the tool across the material, which demands more skill and confidence. The blade is more exposed, and keeping cuts straight requires practice. For many beginners, this difference alone makes the miter saw a more comfortable starting point.
Your typical projects should heavily influence your decision:
Another practical consideration is where you’ll use and store your tools:
For those with limited workshop space, a circular saw’s compact size might be the deciding factor, despite the miter saw’s advantages in other areas.
Confused by all the miter saw options? You might waste money on features you don’t need or, worse, buy a saw that can’t handle your projects.
Miter saws come in three main types: basic miter saws for simple angle cuts, compound miter saws that add bevel capabilities, and sliding compound miter saws that extend cutting capacity. For beginners with future growth in mind, a 10-inch sliding compound miter saw offers the best balance of capability and value.
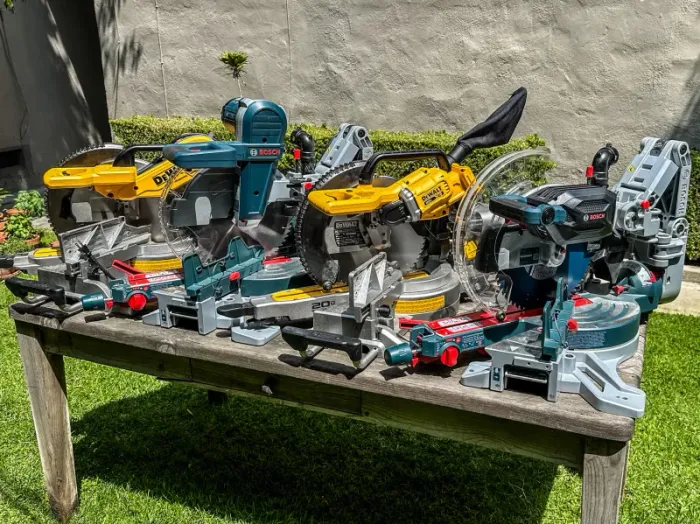
When shopping for a miter saw, you’ll encounter various types and sizes that can seem overwhelming at first. Understanding the differences will help you make an informed decision that balances your current needs with future possibilities.
Miter saws come in three main configurations, each with increasing capabilities:
Miter saws typically come with blade sizes ranging from 7¼ inches to 12 inches. This measurement refers to the blade diameter and directly affects what the saw can cut:
| Blade Size | Max Cutting Width (Standard) | Max Cutting Width (Sliding) |
|---|---|---|
| 7¼ inch | ~2×4 inches | ~2×6 inches |
| 8½ inch | ~2×6 inches | ~2×8 inches |
| 10 inch | ~2×6 inches | ~2×12 inches |
| 12 inch | ~2×8 inches | ~2×16 inches |
While larger blades offer more cutting capacity, they also come with higher prices, more weight, and take up more space. For most beginners and DIY enthusiasts, a 10-inch saw provides the best balance of capability and cost.
Another feature to consider is whether the saw has single or double bevel capability:
Double bevel saws are more convenient but come at a higher price point. For beginners, a single bevel saw is usually sufficient until you start doing more advanced trim work.
Overwhelmed by circular saw options? Choosing the wrong type could leave you with a tool that’s either underpowered for your needs or unnecessarily expensive and bulky.
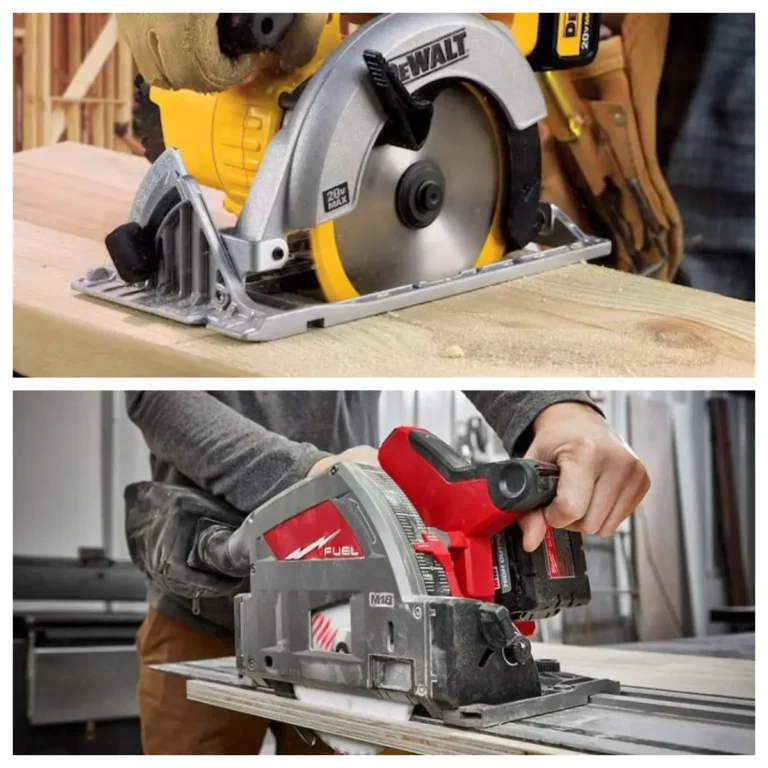
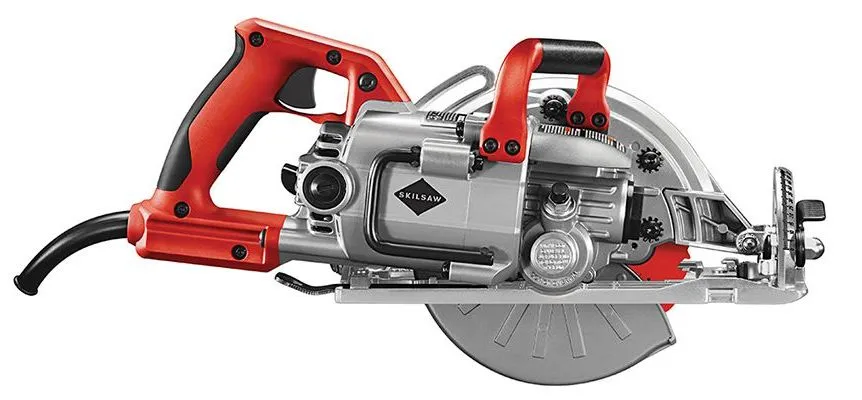
Circular saws come in sidewinder (direct-drive) and worm drive varieties, with blade sizes from 5½ to 7¼ inches. For most beginners, a 7¼-inch sidewinder saw offers the best combination of power, versatility, and ease of use, while cordless models provide convenience at the cost of some power.
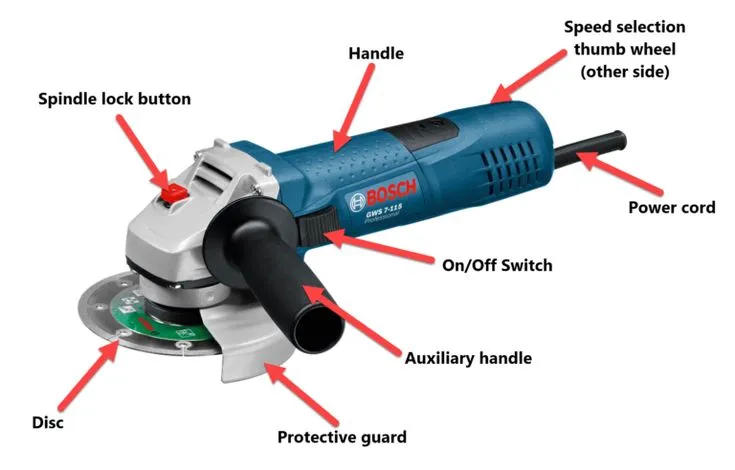
Circular saws might seem simpler than miter saws at first glance, but they also come in various configurations that affect their performance and suitability for different tasks. Understanding these differences will help you select the right tool for your specific needs.
The two main circular saw designs differ in how the motor connects to the blade:
For most DIYers and beginners, a sidewinder saw is the better choice due to its lighter weight, lower cost, and easier handling.
Circular saws come with different blade sizes, with 7¼ inches being the most common. Here’s how blade size affects cutting capacity:
| Blade Size | Maximum Cutting Depth (90°) | Common Uses |
|---|---|---|
| 5½ inch | ~1¾ inches | Light-duty work, trim |
| 6½ inch | ~2 inches | General DIY, cordless saws |
| 7¼ inch | ~2½ inches | Standard size, most versatile |
| 8¼ inch | ~2¾ inches | Heavy-duty professional use |
The 7¼-inch size is recommended for most users because it can cut through 2x material in a single pass, even at a 45-degree angle. Smaller saws are lighter but more limited in cutting capacity.
Another important consideration is power source:
For beginners who will use the saw occasionally for DIY projects around the home, a corded model offers the best value and performance. If you’ll be working in areas without power access or value maximum convenience, the cordless option might be worth the premium price.
Circular saws come with the blade mounted on either the left or right side of the motor. This affects visibility of the cutting line:
This is largely a matter of personal preference, though many professionals prefer left-blade saws for the improved visibility.
Got a new miter saw but feeling unprepared? Without the right accessories, you’ll struggle with accuracy and safety, potentially ruining your projects and wasting materials.
To get the most from your miter saw, you’ll need a quality blade appropriate for your typical projects, a stable stand or workbench, and measuring tools for accuracy. For safety and efficiency, dust collection solutions and proper clamps are also essential investments.
A miter saw alone isn’t enough to ensure successful projects. The right accessories and setup will dramatically improve your results and make working with the saw safer and more enjoyable.
The blade that comes with most miter saws is typically adequate for rough construction work but not ideal for fine woodworking. Investing in quality blades appropriate for your projects will significantly improve your results:
A dull or inappropriate blade can cause splintering, burning, and rough cuts. Signs that you need a new blade include:
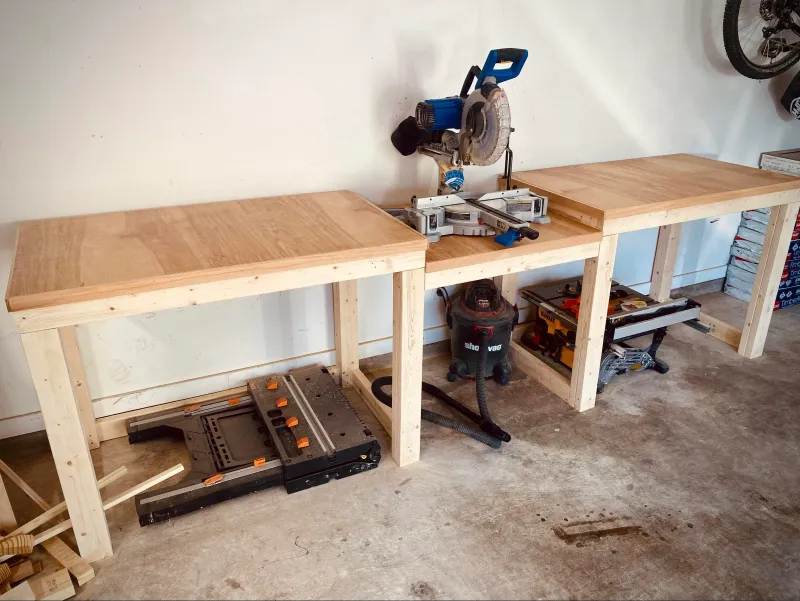
Your miter saw needs a stable platform to operate safely and accurately. Options include:
For those working with longer materials, extension supports are essential to prevent tipping and ensure accurate cuts. These can be part of a commercial stand or DIY additions to your setup.
Miter saws create significant dust, which can be both a health hazard and a nuisance. Consider these dust management options:
Even with good dust collection, wearing appropriate respiratory protection is recommended, especially during extended cutting sessions.
Accurate measurements are essential for successful projects. Useful tools include:
Taking the time to measure twice and cut once will save material and frustration in the long run.
Struggling with your circular saw? Without proper guides and accessories, you’ll waste materials on crooked cuts and potentially create unsafe working conditions.
To use a circular saw effectively, you’ll need straight-edge guides for accurate cuts, proper sawhorses or work surfaces, quality blades for different materials, and safety equipment including eye and ear protection. For beginners, a rip fence guide is particularly valuable for consistent straight cuts.
While circular saws are more portable than miter saws, they require additional accessories to achieve the same level of accuracy. Investing in the right supporting tools will dramatically improve your results and safety.
Unlike miter saws, circular saws don’t have built-in fences or guides. To make straight cuts, you’ll need:
For beginners, a Kreg Rip-Cut or similar guide is particularly valuable, as it makes straight cuts much easier to achieve. These guides typically attach to the saw’s base plate and ride along the edge of the material.
Proper support for your materials is essential for both safety and accuracy:
When cutting sheet goods like plywood, full support is important to prevent binding the blade or damaging the material as the cut piece separates.
Circular saws are versatile tools that can cut various materials with the right blade:
| Material | Recommended Blade Type | Typical Tooth Count |
|---|---|---|
| Rough lumber | Framing blade | 24 teeth |
| Finish lumber | Combination blade | 40-50 teeth |
| Plywood | Fine-tooth blade | 60+ teeth |
| Non-ferrous metal | Metal-cutting blade | 60-80 teeth |
| Masonry | Diamond or abrasive blade | N/A |
Investing in application-specific blades will improve cut quality and extend the life of your saw. Always make sure the blade is compatible with your saw’s specifications for size, arbor hole, and maximum RPM.
Circular saws require additional safety precautions compared to miter saws:
Additionally, maintaining awareness of the power cord location (for corded models) is important to prevent accidental cutting of the cord during operation.
Accurate layout is critical for successful circular saw cuts:
Taking time to clearly mark cut lines and set up proper guides will significantly improve your results, especially as a beginner.
For most beginners, a miter saw is the safer, more user-friendly first purchase, while a circular saw offers greater versatility for those working with sheet goods. Consider your typical projects, workspace, and comfort level when making your choice.
A circular saw can technically make most cuts a miter saw can, but with less accuracy and more skill required. Miter saws excel at precise angle cuts that are difficult to achieve with a circular saw.
The miter saw is generally safer for beginners because it’s stationary with the workpiece brought to the blade, while circular saws require moving the tool across the material, demanding more control and experience.
Miter saws can cut plywood, but are limited by their throat capacity. Most can only cut plywood strips up to 12 inches wide, making them impractical for breaking down full sheets.
Corded circular saws offer consistent power for extended use, while cordless models provide convenience but may have less power. For beginners doing occasional projects, a corded model offers better value.
For beginners, a 10-inch sliding compound miter saw offers the best balance of capability and value, providing enough capacity for most common projects while remaining reasonably priced.
Yes, most circular saws can make bevel cuts by adjusting the base plate angle, but achieving precise angles requires practice and often additional guides or jigs.
Worm drive saws have the motor behind the blade providing more torque but more weight, while sidewinder (direct-drive) saws have the motor alongside the blade, making them lighter and more compact.
A sliding miter saw is worth the extra cost if you regularly work with boards wider than 6 inches, as the sliding mechanism significantly increases cutting capacity for wider materials.